How to Measure Area in AutoCAD Before Calculating According to BOMA
This is an intermediate article in the series dedicated to calculating rentable area using the BOMA standard. It explains how to prepare drawings in AutoCAD before starting area calculations.
A bit of theory. While we use a single floor as an example for marking areas, for calculation purposes, we assume the object is a multi-tenant, multi-floor building according to the Exterior Wall Methodology.
Area Definitions
- Full Floor Area — the area bounded by the Measure Line, minus major vertical penetrations.
- Major vertical penetrations are measured including the walls enclosing them.
- Tenant area is measured to the Measure Line or to the centerline of the demising wall.
- Floor Common Areas — measured to the outer face of the surrounding walls.
- Building Common Areas — allocated proportionally as part of the tenant area.
- Rentable mezzanines — measured to the Measure Line or boundary or centerline of adjacent wall.
- Rentable stand-alone mezzanines — measured to the outer edge of the floor if not adjacent to exterior walls.
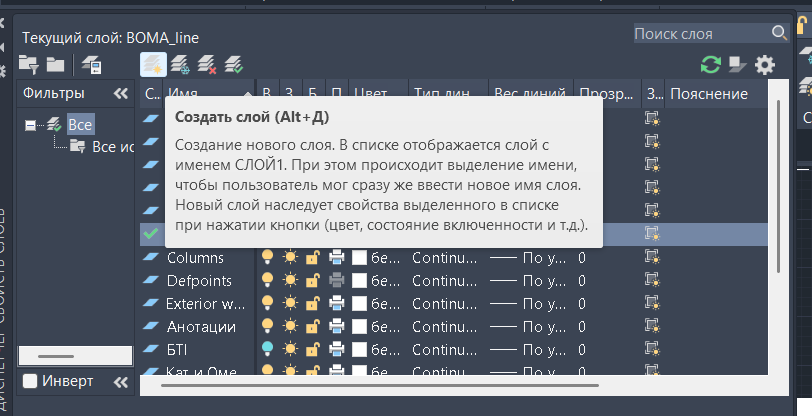
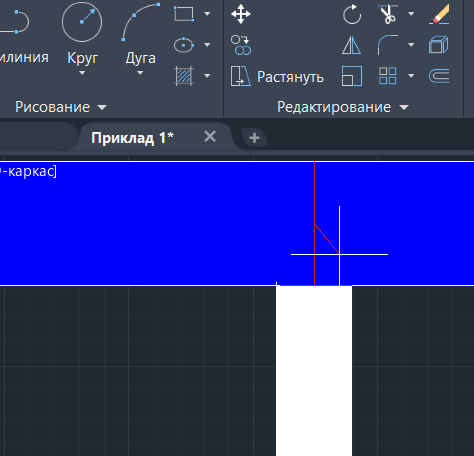
How the boundary is drawn in AutoCAD:
- A separate layer is created (e.g.,
BOMA_line). - Reference points are set — to ensure accurate geometry.
- Object snaps (OSNAP) are enabled — for midpoints, corners, endpoints, etc.
Example:
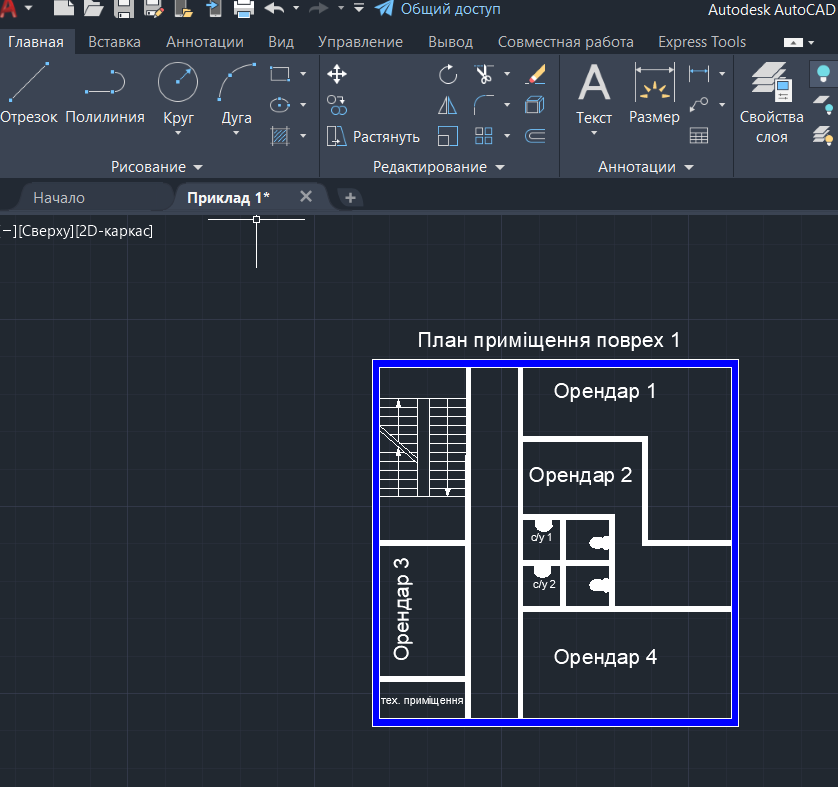
A floor plan with four tenants is shown. On the plan you can see:
- The staircase shaft (not included in rentable area);
- Tenant rooms with boundary line (yellow);
- Floor-level shared areas (blue);
- Vertical penetrations (red).
Video of drawing area measurements in AutoCAD:
Next Step
In the next article
, we will demonstrate how these areas are used to calculate BOMA areas and coefficients using an *.xlsx file and the facility.org.ua platform.